
Transfering A Stencil

If you are working with a stencil, this step lets you transfer it onto the pumpkin.
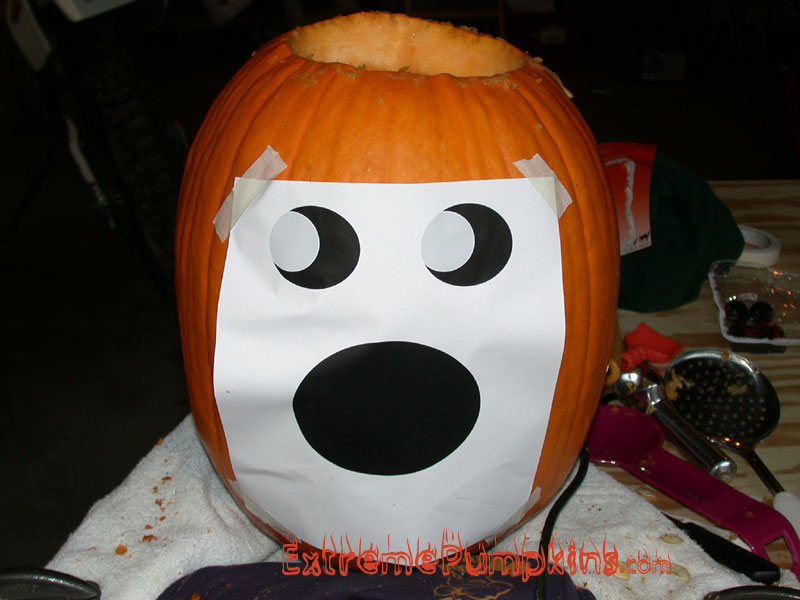
Tape the stencil to the pumpkin. Make a note of which chunks are going to be removed, which are going to have the skin removed, and what will stay behind. Be sure that your stencil will allow all of the pieces you are leaving behind to be supported. Pumpkin pieces do not stand up on their own, they need to be connected if you want them to stay.
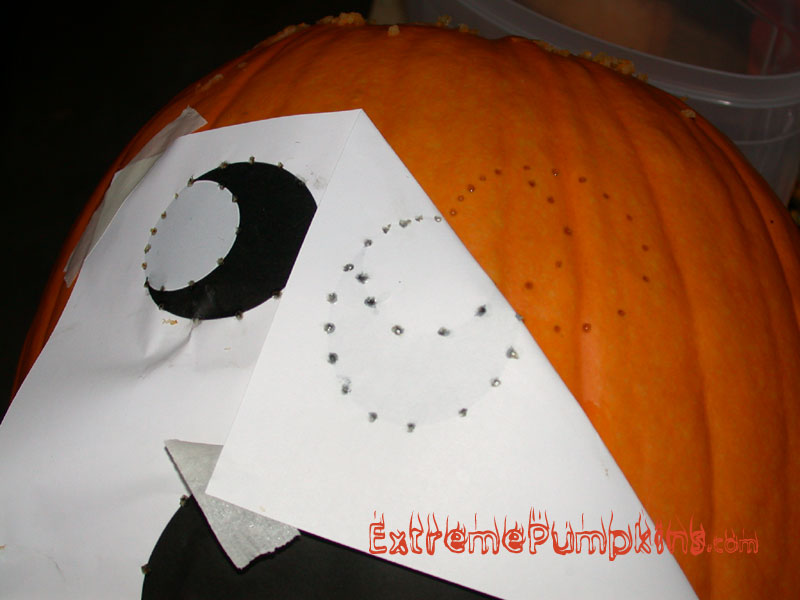
Use a nail (a regular nail, any size) to poke through the paper stencil at wherever you will want to cut it. Poking through along the cut-lines will result in a series of dots on the pumpkin surface. When you are done transfering all of the lines, you will be left with a simple connect the dots.
You can now remove the stencil.
Tape the stencil to the pumpkin. Make a note of which chunks are going to be removed, which are going to have the skin removed, and what will stay behind. Be sure that your stencil will allow all of the pieces you are leaving behind to be supported. Pumpkin pieces do not stand up on their own, they need to be connected if you want them to stay.
Use a nail (a regular nail, any size) to poke through the paper stencil at wherever you will want to cut it. Poking through along the cut-lines will result in a series of dots on the pumpkin surface. When you are done transfering all of the lines, you will be left with a simple connect the dots.
You can now remove the stencil.